
Intended Audience
This post will be of interest if you want to use Resilio Sync to selectively back up folders on Windows 7+ clients to a legacy FreeNAS server (version 11.1 or below).
A later version of this post using a modern FreeNAS server (version 11.2 or above) can be found here.
Assumptions
- The reader has a working knowledge of FreeNAS.
- The Resilio Sync plugin has been installed on the FreeNAS server. If not, refer to this post first.
Overview
The instruction here is for setting up Resilio sync client software on Windows 7 or later clients to selectively back up data from them on to a FreeNAS server. The app screens that follow refer to the version of the Windows sync client indicated in the screenshot below.

Step 1: Install and start the sync client.
When starting the client, you will be prompted for a user name. I like to use a device identifier.
Edit: Since rebuilding my Resilio backups, recognising that I have a client-server backup arrangement using Resilio, I’ve resorted to the sync name ‘resilio’ across all devices.

Work your way through this screen and the next newsletter screen after which you will be presented with the client UI.

Step 2: Add a location to backup.
Click the + button in the top left corner and then select Standard folder.

Choose your location. In this example, My documents is chosen.

Step 3: Request session connection with the sync server
Next, select a means of delivering the session request to the server. If you log on to the sync server on the same PC, Copy is probably easiest.

Step 4: Establish a session connection on the server.
From the sync server, select Manual connection from Options and then enter the link or key for the session request.


Step 5: Create storage location for the backup.
After clicking Next, the sync server will ask you to choose a folder.

Create a folder under media. Name it something meaningful.

Step 6: Initiate the backup
Click Open and you will be returned to the server sync WebUI. The status will say Connecting… and will then change to Pending Approval.
A notification will be flagged on the client UI.
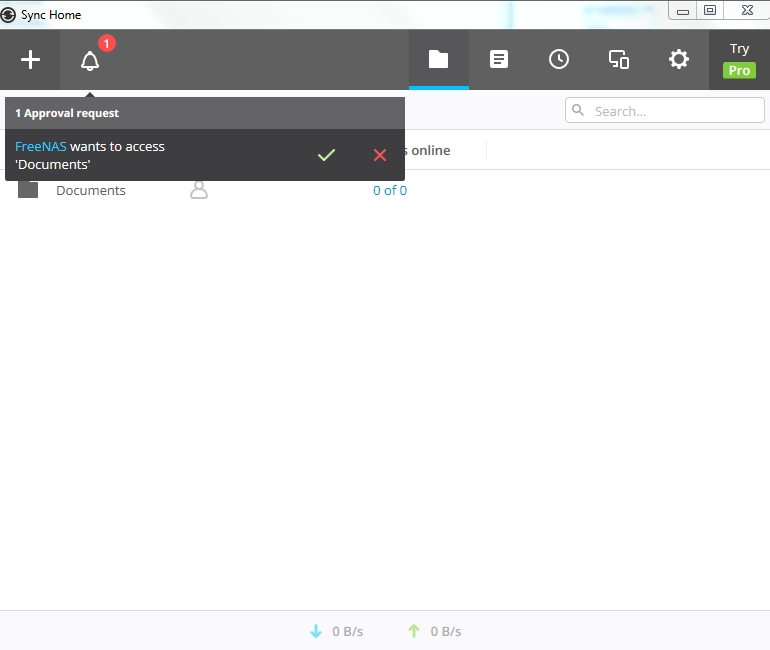
Click the tick to initiate backup
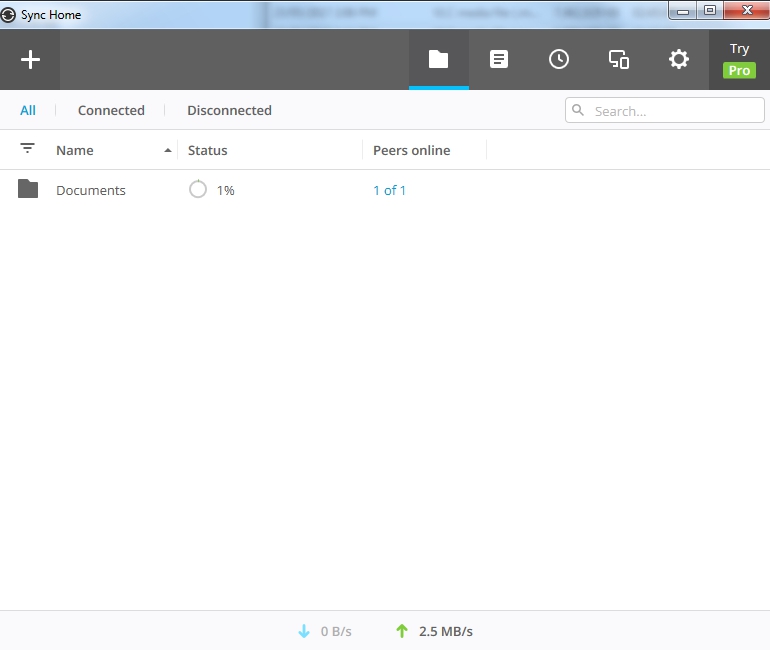
Backup activity can be observed from the Folders screen of the client UI and from the sync server desktop WebUI.

References
Revision History
- Use sync name resilio across all devices. (170619)
Comments